How to use tattoo stencils correctly – your complete guide to perfect templates
Whether you're a professional tattoo artist or an ambitious beginner, if you want to create precise, high-quality tattoos, a good tattoo stencil is essential. In this guide, you will learn what a stencil is, why it is so important, how to use it correctly, and how to achieve the best results with the right accessories (e.g., from tattoo-king.net).
What is a tattoo stencil?
A tattoo stencil is a template of your design that is transferred onto the skin. It shows the exact contours and lines – similar to an outline – so that you don't have to tattoo freehand, but can work along this template.
There are different types of stencil paper: e.g., thermal paper, hectograph/carbon paper, freehand drawing, or transparent paper. Each has advantages and disadvantages, depending on the tattoo style, complexity of the design, and technique used.
Why is a good stencil so important?
-
Precision: Clear lines help to avoid mistakes from the outset, especially with fine details, lettering, and symmetrical motifs.
-
Efficiency: A clean template saves time—fewer corrections during tattooing, clear alignment.
-
Before and after comparison: The customer and tattoo artist have the same template, so the expected result is transparent.
-
Repetition and consistency: For example, if you are doing several identical tattoos or using parts of a design multiple times.
Typical mistakes and problems with stencils
| Mistakes | Why problematic | How to avoid |
|---|---|---|
| Do not allow the stencil to dry | transferred lines may run or smudge, especially if the gel or solution is still wet. | Allow to dry for at least 10-15 minutes; check again after another 5 minutes if necessary. |
| Skin not prepared (not cleaned, not shaved) | Dirty surface, hair, and oil interfere with adhesion, stencil may peel off or be transferred unevenly. | Clean skin (Green Soap, possibly with witch hazel), shave gently, dry completely, apply solution. |
| Cheap or unsuitable thermal paper | Lines are faint, sometimes blurred, poor adhesion to the skin, rapid abrasion due to liquid or sweat. | Choose high-quality thermal or transfer paper; check how well the color (e.g., red vs. purple carbon) lightens or remains visible. |
| Incorrect application of the transfer solution or gel | Either too much solution → stencil slips, or too little → poor adhesion. | Apply the solution evenly, allow it to work on the skin until it is slightly sticky/tacky; the template will then adhere better. |
How to use a tattoo stencil correctly – step by step
Here is an optimized step-by-step guide, supplemented with tips from current sources:
-
Prepare the design
-
Either design digitally or draw by hand.
-
Pay attention to size, placement, and orientation (mirror if necessary).
-
Consider edges and problem areas (stretch marks, curves).
-
-
Choose stencil paper
-
Thermal transfer paper vs. hectograph (carbon) vs. freehand.
-
White paper vs. transparent: White is cheaper and often brighter (easier to see), transparent helps with cover-ups or if you can see existing lines or skin markings under the tattoo.
-
Check quality: good carbon/ink, clean separation, even color application.
-
-
Provide equipment
-
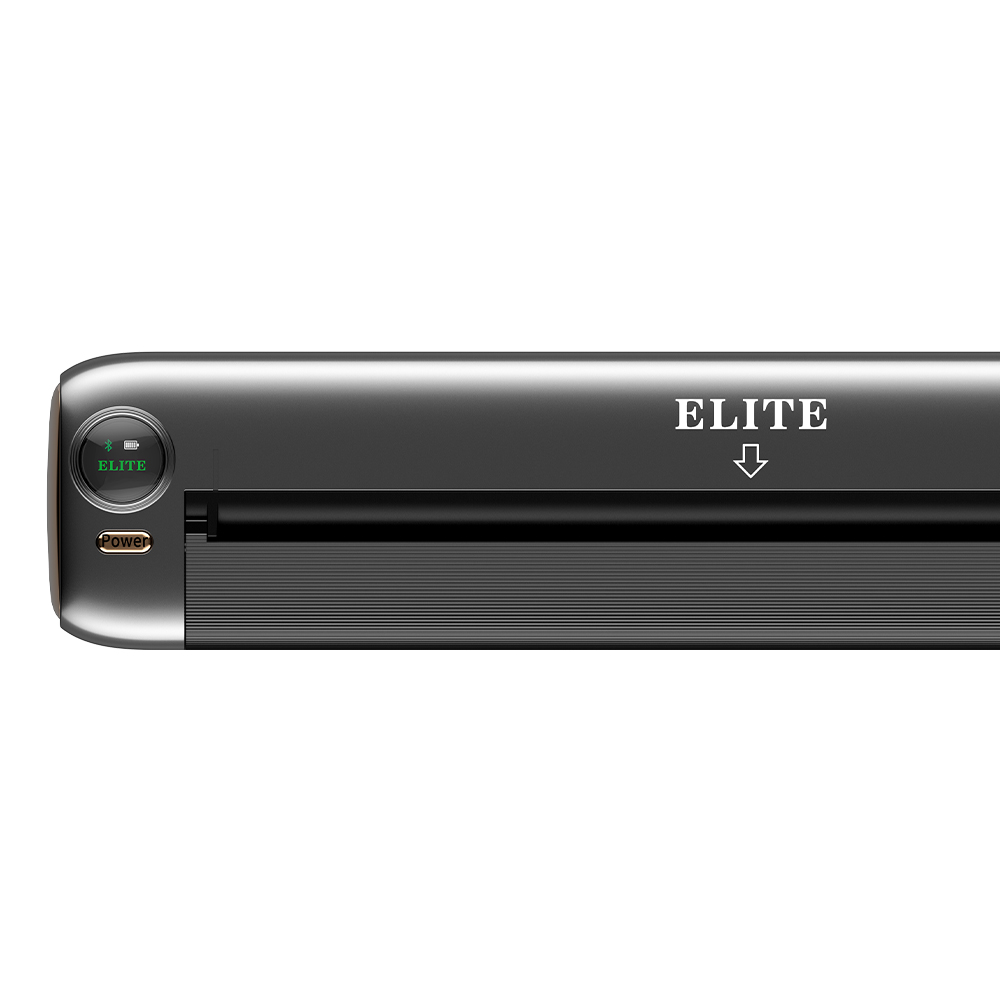
Thermal copier or stencil machine, printer, etc.
-
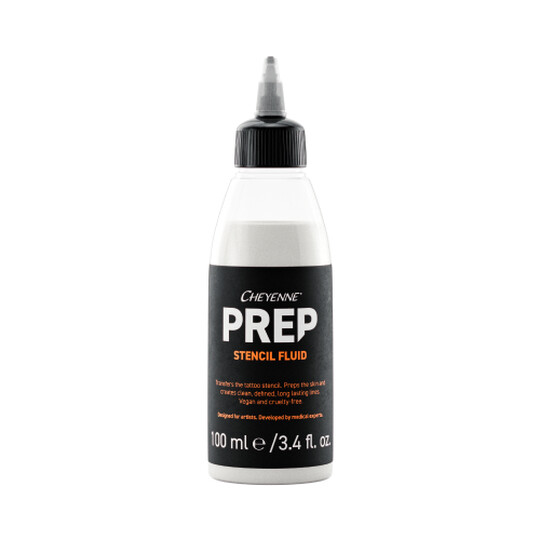
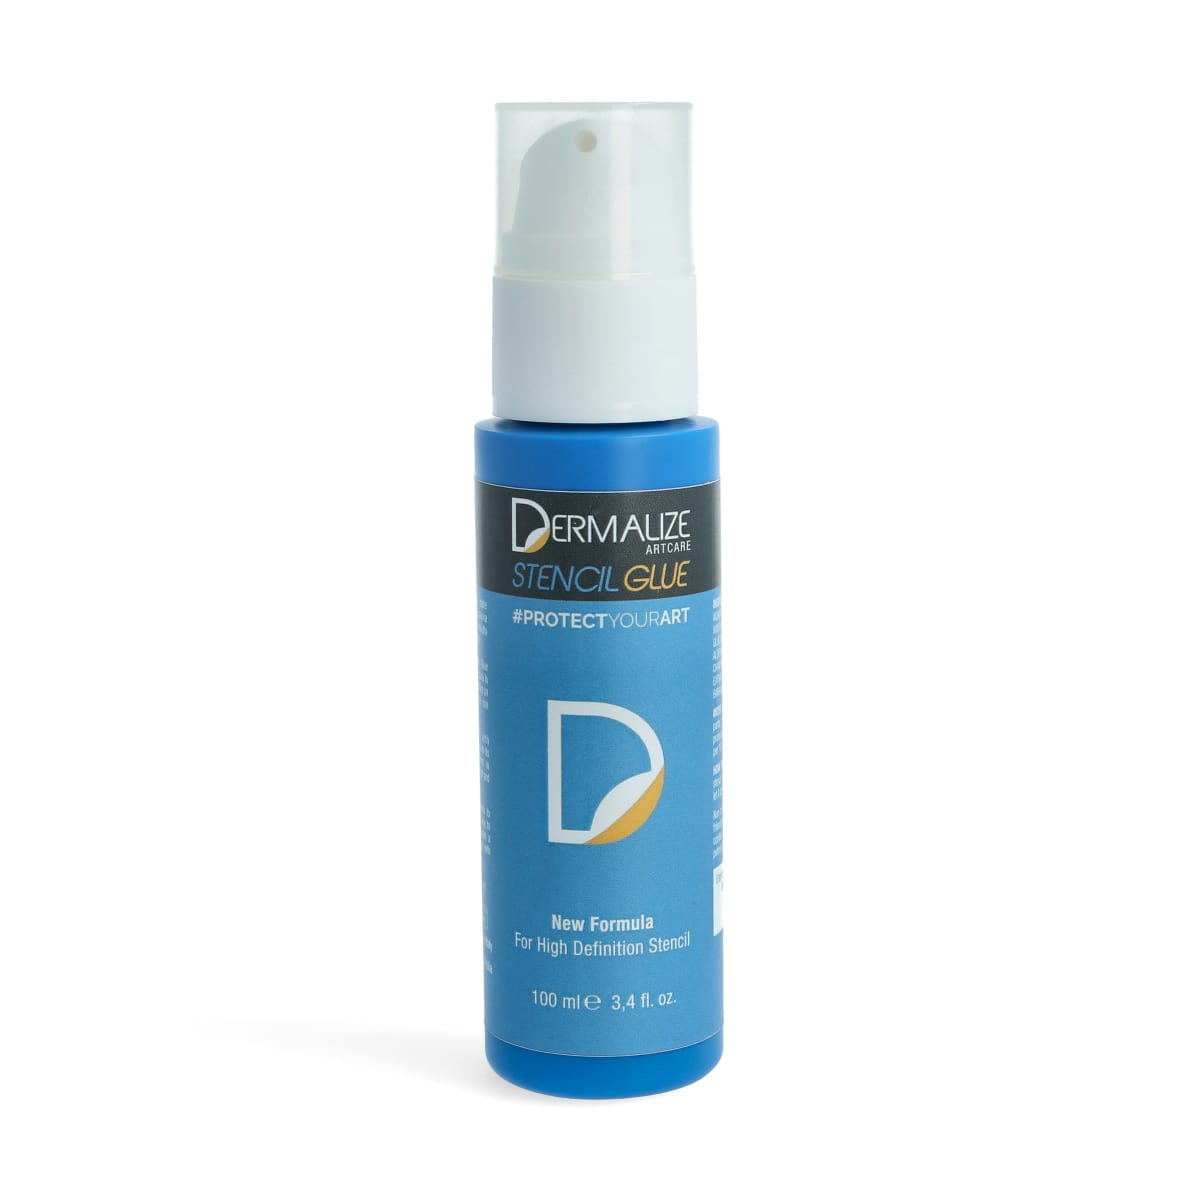
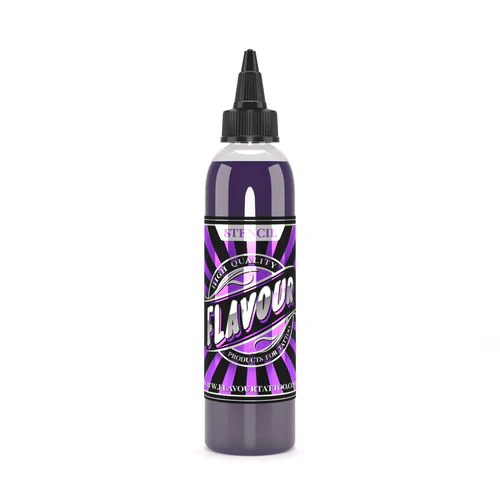
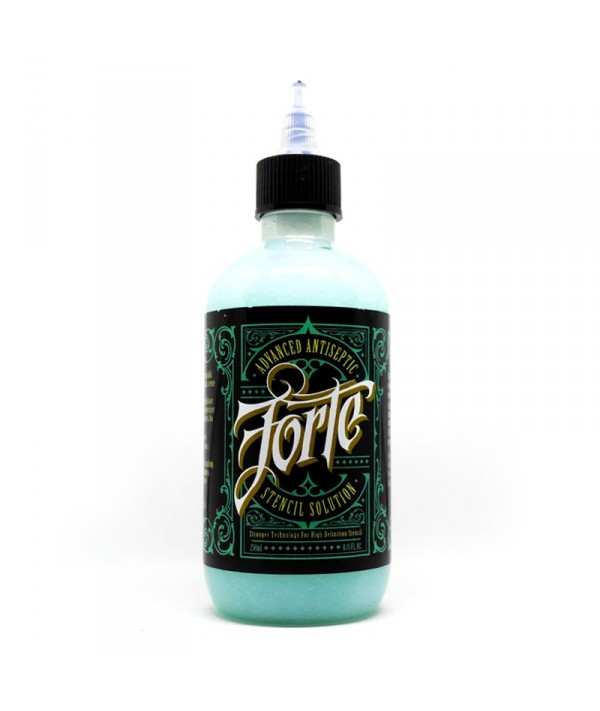
Stencil gel or transfer solution, alcohol-based cleaning agent (e.g., Green Soap, Witch Hazel), razor, sterile blades, surgical marker for positioning if necessary.
-
-
Prepare skin
-
Clean the skin (remove dirt, oil, makeup).
-
Shave hair if necessary—but be careful not to irritate or damage the skin.
-
Disinfect.
-
Allow to dry.
-
-
Apply stencil gel/transfer solution
-
Apply thinly and evenly to the area to be tattooed.
-
Allow the solution to work until it is tacky or slightly sticky (not wet).
-
-
Transfer the stencil
-
Carefully place the template on the skin—ideally starting in the middle and then smoothing out toward the edges to avoid air bubbles and wrinkles.
-
Some stencils require approx. 30 seconds of application time.
-
Carefully peel off – do not pull out to avoid smudging.
-
-
Allow the stencil to dry
-
Important: Allow to dry for at least 10-15 minutes, possibly longer, depending on the environment (humidity, temperature).
-
During this time, avoid getting any liquid or sweat on it.
-
-
During the tattoo session
-
Protect with petroleum jelly or a suitable barrier solution (not over the entire stencil, only where necessary) to remove excess ink droplets without damaging the stencil.
-
Always wipe cloths and cleaning agents from the outside in, away from the uninked area, so as not to rub the template.
-
-
Aftercare/Removal
-
After the tattoo session is complete, the stencil is usually removed with a soapy solution or special solutions.
-
Do not confuse final tattoo care with the behavior of the stencil.
-
How long does a tattoo stencil last on the skin?
This depends on several factors:
-
Quality of the paper and the transfer solution
-
Skin type (e.g., oily skin is more prone to abrasion)
-
Body location (movable areas, high friction, sweat, etc.)
-
How well the skin has been prepared
-
How long you let the stencil dry
Typical experience:
-
A well-made stencil with high-quality paper and a good solution can remain stable for several hours during the tattoo session.
-
Under high stress (sweat, movement, water), it can fade or smudge more quickly.
-
Residual stencil ink may remain visible for days after the tattoo, especially on very light skin or if the transfer was deep.
Choosing materials – what to look for in accessories
-
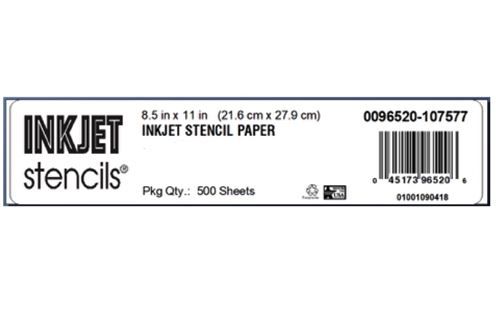
Stencil/transfer paper: Brands such as Spirit, S8, Prime, etc. are considered reliable. Some papers offer red, others purple/bright charcoal colors – for contrast, varying in effectiveness depending on skin type.
-
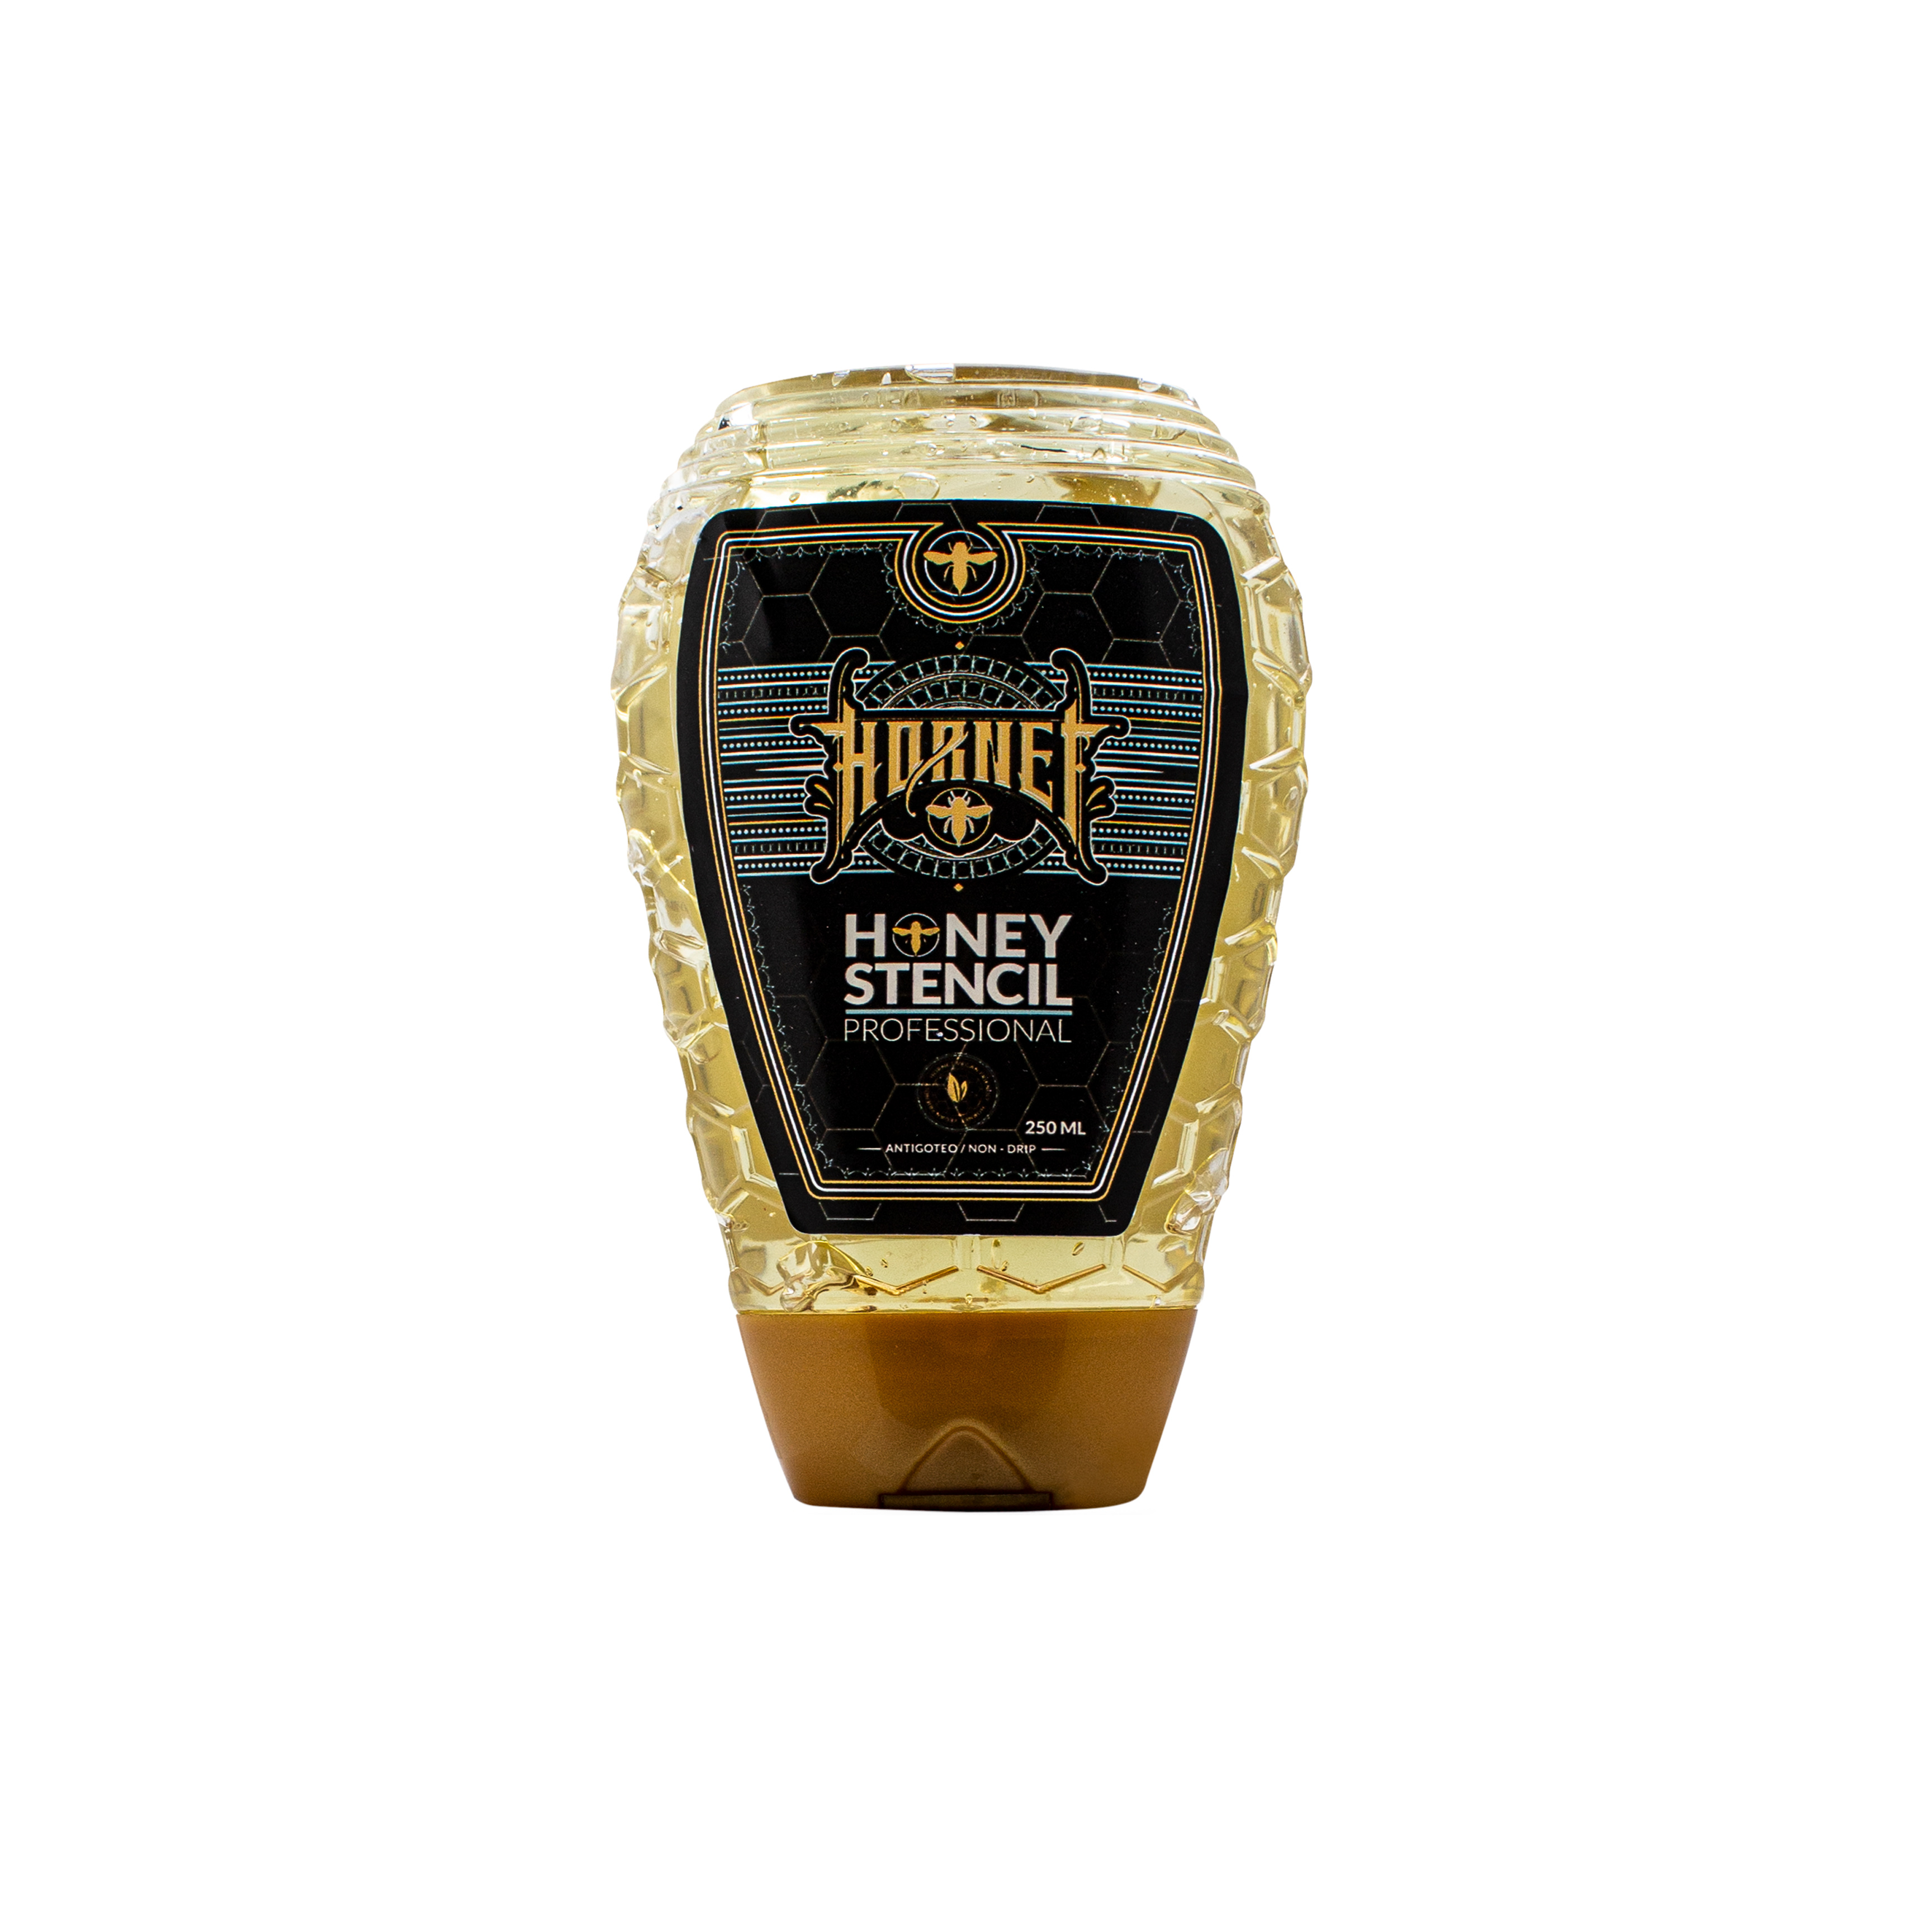
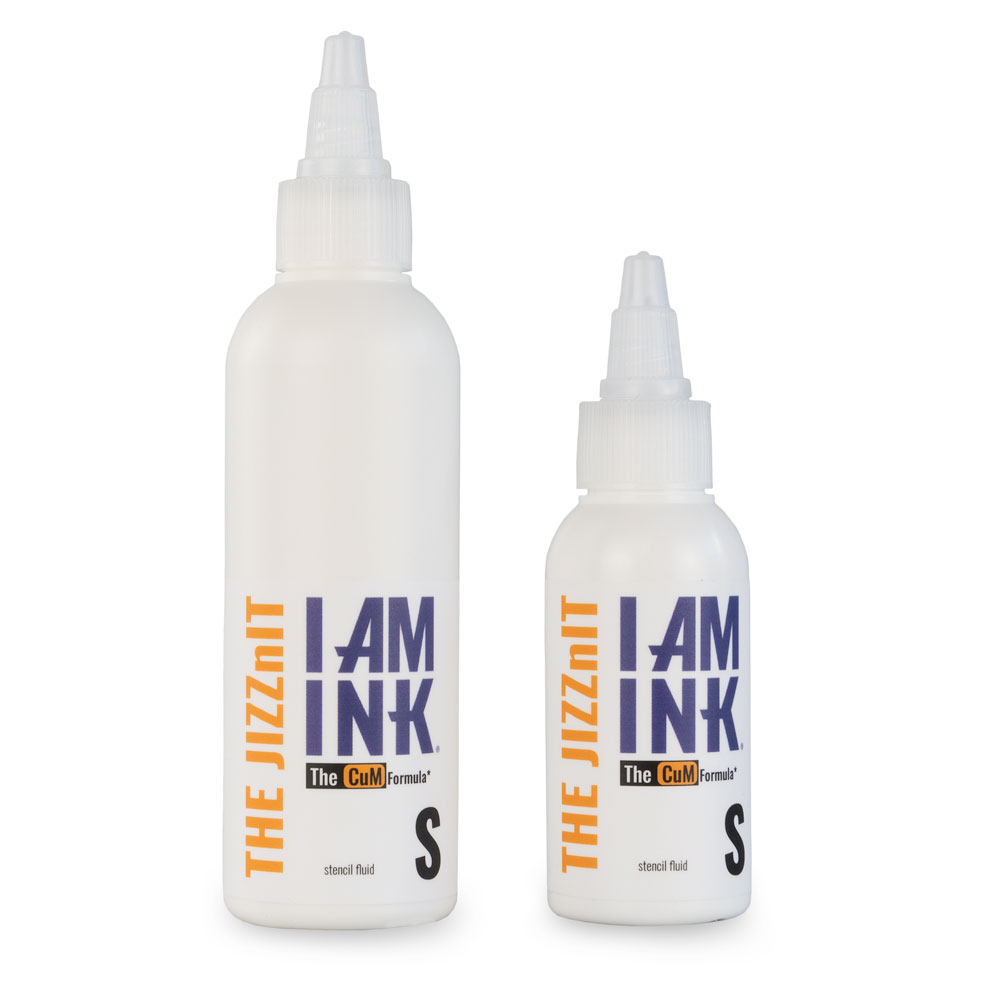
Stencil gel and solution: Make sure it adheres well, is as skin-friendly as possible, and causes as little irritation as possible.
-
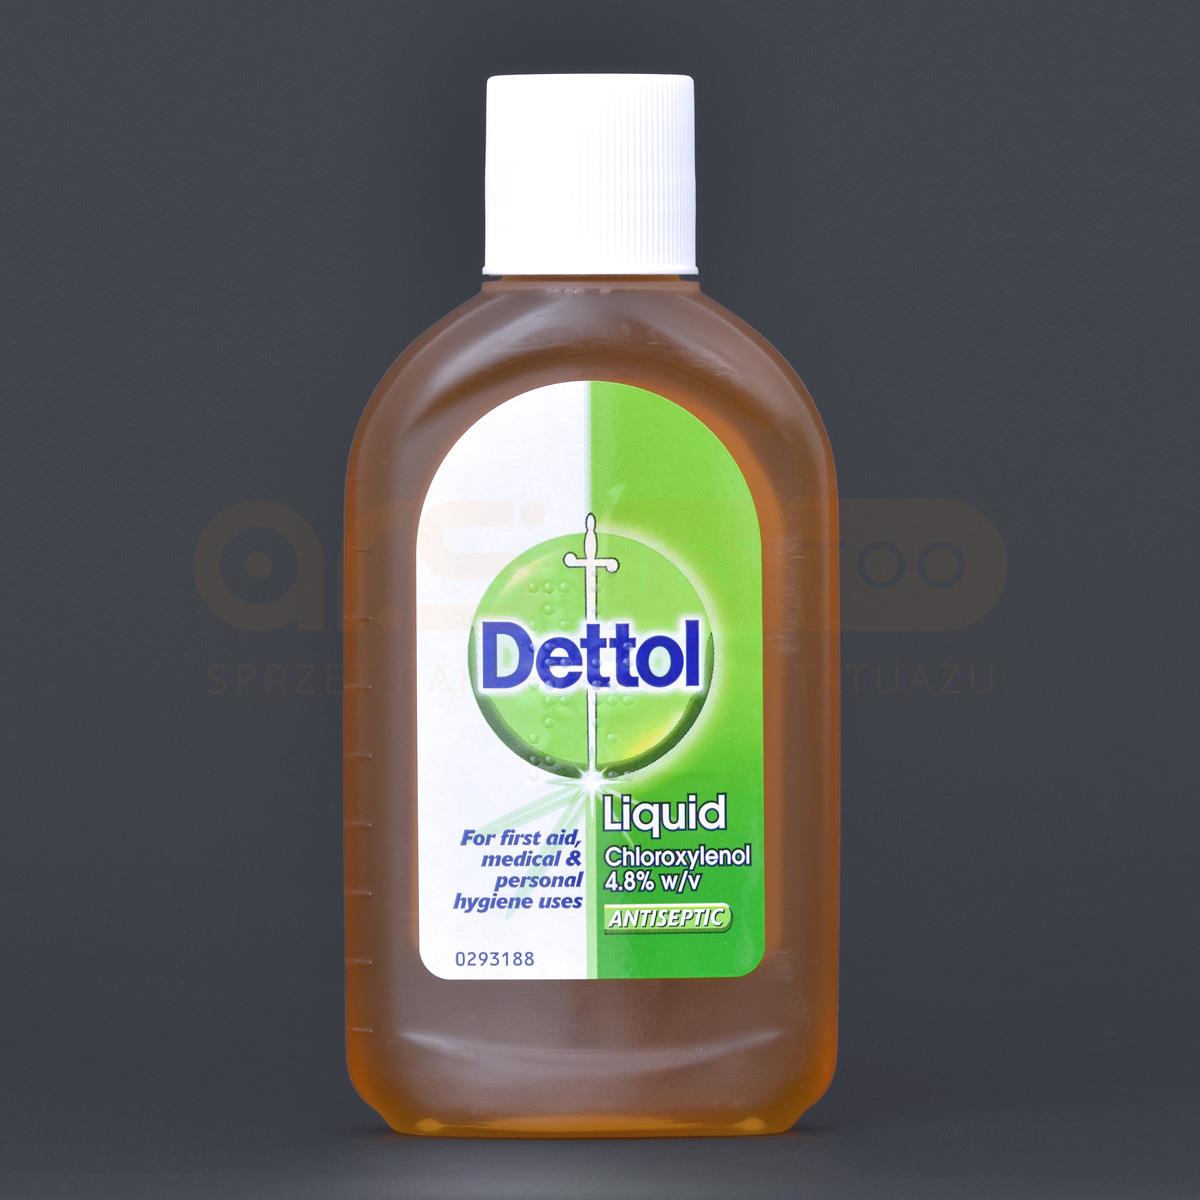
Disinfectants and cleaning agents: Green Soap, Witch Hazel, alcoholic solutions if necessary.
-
Sterile working methods: disposable gloves, clean razor blades, clean workplace.
Conclusion
A successful tattoo often starts with a perfect template. The stencil is therefore not just a tool, but an important part of the entire process – from preparation to implementation. With high-quality paper, professional transfer solution, good technique, and careful skin preparation, you can take your tattoos to a significantly higher level.
👉 Check out tattoo-king.net for stencil accessories—thermal paper, stencil gel, ready-made templates, and other equipment. Invest in quality: so that your stencils are clear, durable, and accurate—and your tattoos are too.
Content: 0.25 Litre (€67.60* / 1 Litre)
Content: 0.22 Litre (€86.32* / 1 Litre)
Content: 0.22 Litre (€86.32* / 1 Litre)
Content: 0.15 Litre (€10.66* / 0.1 Litre)
Content: 25 Piece (€1.60* / 1 Piece)
Content: 0.1 Litre (€110.00* / 1 Litre)
Content: 0.25 Litre (€28.80* / 1 Litre)
Content: 0.12 Litre (€108.33* / 1 Litre)
Content: 0.24 Litre (€78.75* / 1 Litre)
Content: 0.24 Litre (€95.42* / 1 Litre)
Content: 0.24 Litre (€95.42* / 1 Litre)
Content: 5 Piece (€0.70* / 1 Piece)
Content: 100 Piece (€0.39* / 1 Piece)
Content: 0.25 Litre (€59.00* / 1 Litre)
Content: 0.1 Litre (€150.00* / 1 Litre)
Content: 0.06 Kilo (€133.17* / 1 Kilo)
Content: 0.25 Litre (€84.00* / 1 Litre)
Content: 0.1 Litre (€165.00* / 1 Litre)
Content: 0.12 Litre (€1,691.67* / 1 Litre)
Content: 500 Piece (€0.10* / 1 Piece)

